How to fix: “Your name change request has been rejected by our automated approval system”
Facebook will reject (or ban) your name change request if one or more of the following conditions is detected by Facebook: If you have made too many name changes, if you have a name that sounds like it could be fake, if you share your name with a celebrity, or other possible reasons that could be causes for sensitive issues.
So, how to fix “Your name change request has been rejected”?
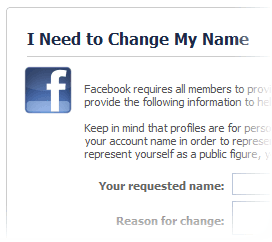
If you insist to change your name, go to this page and use the form to request for name change. In this form, you’re required to upload one of the following files for verification purpose (ensure that your full name, date of birth, and photo [if applicable] are clear): a government-issued ID, marriage certificate, or legal name change document. Facebook team will review the request manually. It will take a few days for your request to be approved, or denied.

Because there are so many scammers out there on Facebook trying to hide their identities every time after they succeeded scamming sombody (I’m sorry). This implementation is of good deeds and to protect Facebook users from all these threats. Of course, there may be a lot more reason for why they enforce this policy. So, do yourself a favor not to change to a fake name from your real name because if you did, you may not be able to change back to your real name without going through all the hassles.
Change name in Facebook page
While the rule about name changing for Facebook page is constantly changing, we cannot guarantee that whatever we said here will still be the same as ever. Well, at this time, Facebook only allows a Facebook page to change its name before they have certain number of likes (currently it’s 200 likes). It requires you to be either the admin or editor of the Facebook page to be able to change its name. The name change will usually be taken place immediately. To change the name of your Facebook page:
- Click Settings from the upper right corner of your FB page.
- Click Page Info which can be found from the left column.
- Click Name and then enter your desired new name.
- Click Save Changes.
After you have reached this number of likes, you will have to undergo a more complicated process to change your name. There will be a “Request” button beside the Name as mentioned earlier in the “Page Info” section. The request will take several weeks to months before Facebook respond to it.
There is also a maximum number of name change attempts. If you are changing too frequently you may be rejected from future changes. So, think twice before you change your Facebook page name.


